So to start, I’m just going to tell you what I tell every other aspiring artist out there. Everyone goes about creating art in a different way. No one has the same style, techniques, or talent. Each and every artist on this planet is unique, whether their art is professional or amateur.
Don’t ever look at someone else’s art and start comparing yours to theirs. There is always going to be an artist that is better than you. You don’t always know the circumstances, perhaps the person you’re comparing yourself to may have studied art for YEARS longer than you have. You simply do not know. Now, since I’ve put that out there, we can move on to our lesson.
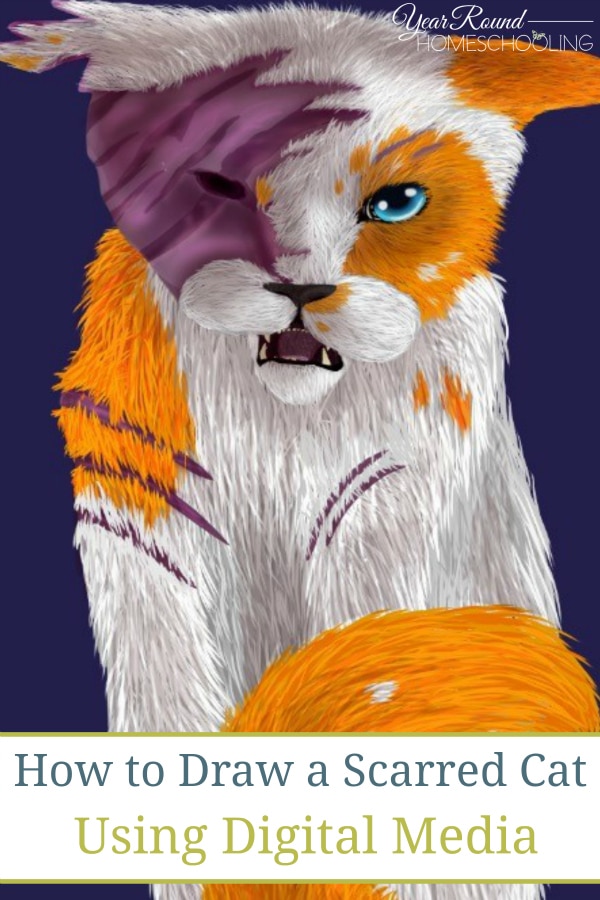
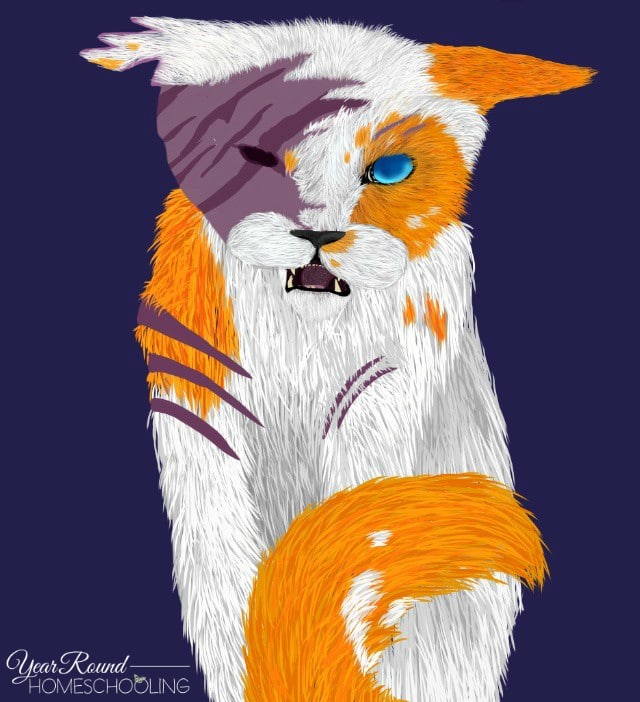
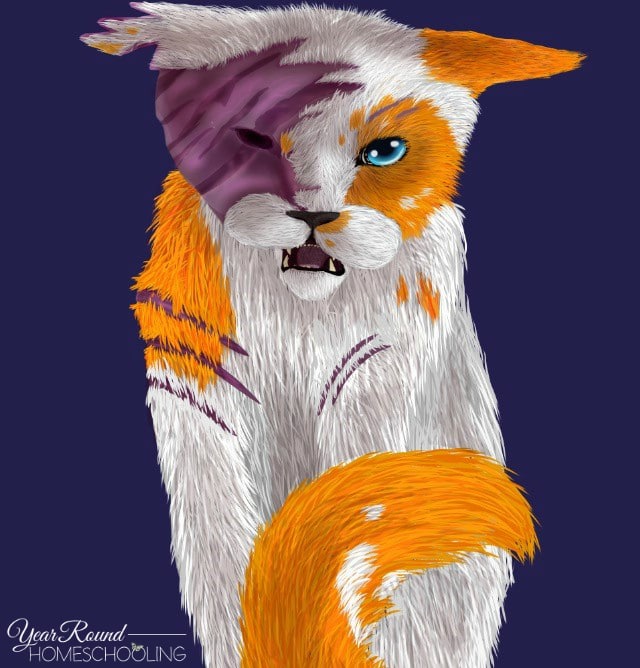
Today we will be drawing a scarred cat using digital media. This is what the final result will look like. This kitty has seen some rough times, now hasn’t it?
Step 1
The art app I used for this drawing was ibisPaintX, but any simple art app for your phone or tablet will do. A computer art program will work in basically the same way as well. If you have an artist’s tablet and stylus pen, then all the better.
What you want to do for your first step is to look at the subject you are drawing. In this case, the subject was only in my mind, but you guys get to look at the above drawing and follow along to get to that point.
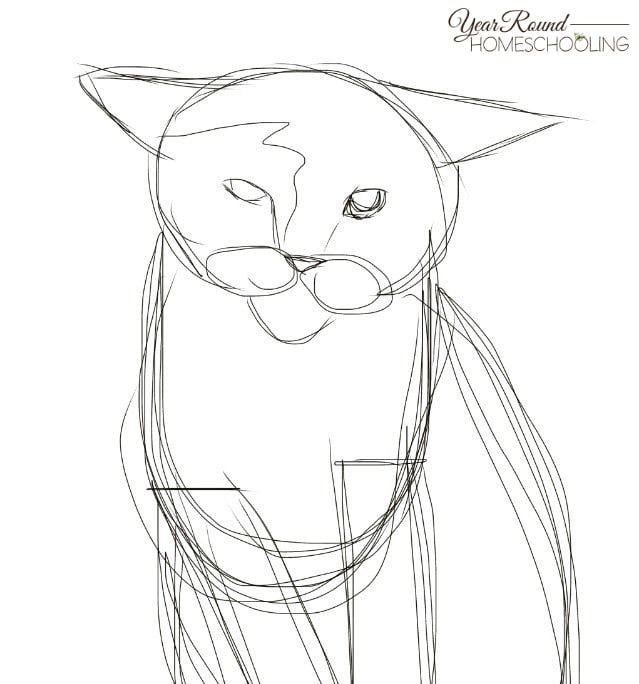
Find the shapes that make up the cat—all the basic shapes and lines that you see. What goes where? I see a circle for the head, three smaller circles for the muzzle, triangular shapes for the ears, circles again for the eyes, triangle for the nose, rectangles for the forelegs, and a couple of ovals for the body. Then you have a general squiggle line where you think the scar will be on the face.
Take your stylus, or your finger, depending on which you have available, and sketch in those shapes. Don’t worry too much about detail or clean lines.
Step 2
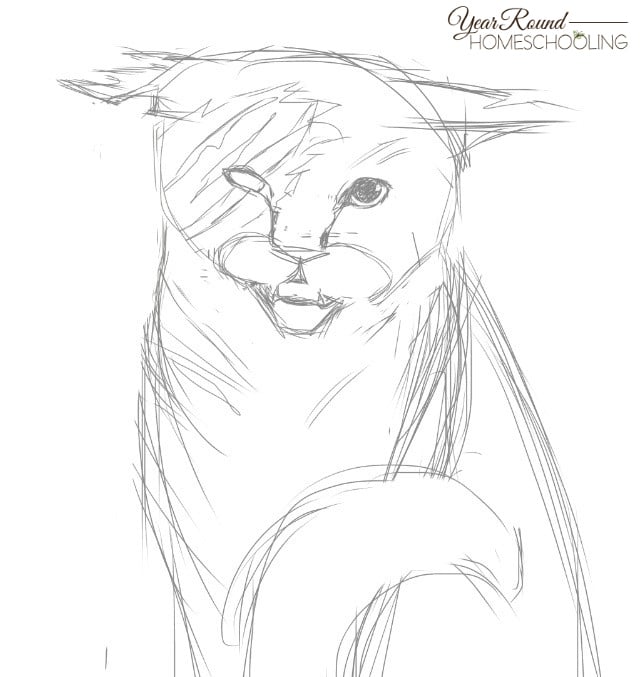
Next, you add in a few more defining details and change your opacity to about 50%. Define the eye a bit more by shading in the pupil. Sketch in the details for the scarred side of that cat’s face by lining it with a few jagged lines. Erase parts of the ear if you want the cat to look a little more ragged. I drew a square-ish shape that comes about halfway down the chin for the open mouth, and added another triangle underneath the one we drew for the nose. The two triangles should create a sharp hourglass shape. This is the cat’s upper gum line.
Erase the shape lines you no longer need, and add a couple of curving lines that connect to create a tail. You now have something that is starting to look like a cat.
Step 3
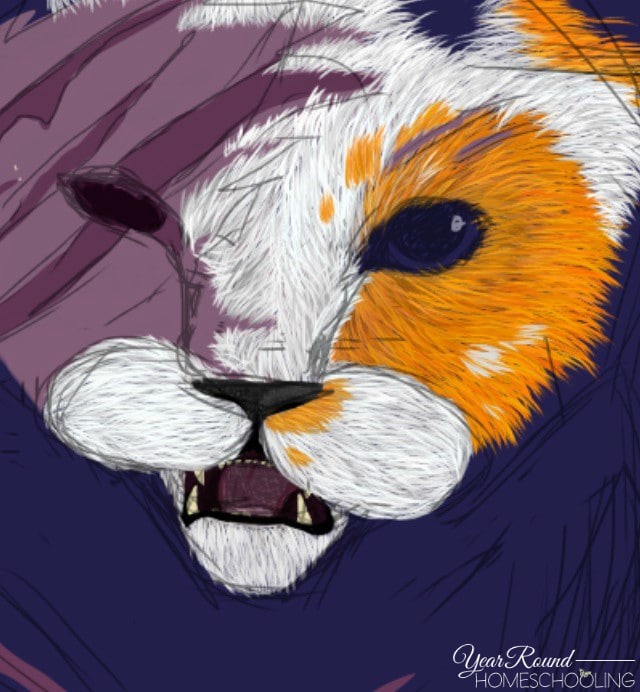
Now this step may get a bit tricky—as we now begin to lay in the base colors and fur. I took a gray/pink color and put that down for the base color of the scar, adding a few darker streaks for a more dramatic look. I also added a very dark patch of red and black for the missing eye, and two scars above the cat’s other eye. I colored the nose a dark grey, and then added a lighter patch of grey for the highlight on the nose. The gum line we drew in earlier can also be colored in with a deep pink or reddish color, with some slightly off-white half-circles for the small teeth. The canines are rounded triangles that curve in slightly towards the tongue.
Begin laying in the fur with light strokes of your stylus/finger, while alternating between colors. If you look at any animal, all of their hairs are not one color, but rather variations of the same color. So for white fur, you’d get some white, and shades of grey on the lighter spectrum. Use darker shades where shadows may be. For the orange patches, you can get a darker orange, a more red or more yellow orange and a ginger orange, to get a nice feel of the color you’re going for.
Make sure you follow the pattern of the fur with your strokes. On the bridge of the cat’s nose, you would be stroking up from the top of the nose, while the hairs that seem to come out to the sides of the face are strokes around and out from the eye. Do this for the rest of the body, one stroke at a time to get that furry feel, and follow a pattern. Fur is not just randomly scattered everywhere.
Step 4
Continue stroking in the fur, following down the body. The cat’s legs can be defined from the rest of the body by laying in some grey near the middle, belly region. You can also lay in grey strokes near the right shoulder to define where the haunches begin. The fur strokes should overlay part of the scars to give it a more realistic feel. Add a new layer behind the layer the cat’s fur is on and fill in the space left for the eye with a light blue. Then, near the top part of the eye and where the pupil should be, fill in the space with a slightly darker blue.
Now switch back over to the layer you drew the fur on and outline the eye socket with black, creating a triangular shape near the inner corner of the cat’s eye.
Step 5
Add a new layer and pick a dark shade of red or blue…or any dark color other than grey or black. Pick an area on your image and imagine there being a light source in that spot—in this case that is the upper right hand side of the photo.
Now change the opacity of that layer to about 30% or 40% and begin using an airbrush tool to shade in your cat. The left side of the cat’s face will have more shadow than the right, and you can use the shading to darken the chest below the cat’s chin to define the head from the body a bit more. Add more shadow between the cat’s forelegs to make them more distinct, and shade in below the cat’s eye.
Now switch back to the layer you put down the base color for the scar and use the “burn” tool to shade that. Go lightly around the areas where the scar touches fur, and use the burn tool to define the bridge of the nose by darkening from the inner corner of the cat’s eye to the nose. Now use the dodge tool to lighten a few areas on the scar to create depth.
Go to the layer where you did the blue for the eye, and now draw a large black pupil, a tiny bit smaller than the dark blue outline you already drew. Add two white circles and a faint white streak just below the pupil.
I hope you enjoyed learning how to draw a scarred cat using digital media. Next time, we will be using graphite pencils to draw a human face!
__________________
 Hailey Woerner is a young author following her dreams. She is one of those…introverted types, if you will. She finds her passion in writing, drawing, singing, and serving on her highschool worship team. Some have called her creative, intuitive, quiet, gentle, and graceful, though sometimes hot-headed. She lives in the wonderful state of VA with her family of seven, and loves watching the seasons change over the mountains. You can often find her sitting alone, thinking up new ways to tell an old tale, or creating tunes for a new song she has written, but she always welcomes conversation to those who come up to her! Just watch yourself, or she might find some way to work you into her next novel.
