Lapbooking has been one of our favorite ways to learn for several years now. We’ve made so many of them that I sometimes forget that not everyone recognizes the term “lapbook” or knows how to put them together.
It’s not easy to visualize what a lapbook looks like or why it’s a great learning tool if you’ve never seen one in person. Until I can go on tour as a lapbooking consultant (a dream job when my kids are grown?), I’ll try to demonstrate a how-to in pictures here.
What is a Lapbook?
A lapbook is a visual representation of interesting facts about a certain subject. It consists of a file folder (or folders) base with mini-books, foldables, lists, charts, graphs, layered books, and/or accordion books fixed to the base.
There are actually a wide variety of ways to make the mini-books. You can find some free templates for lapbook components at Homeschool Share. We love to use these to make our own lapbooks on any subject!
How to Make a Lapbook
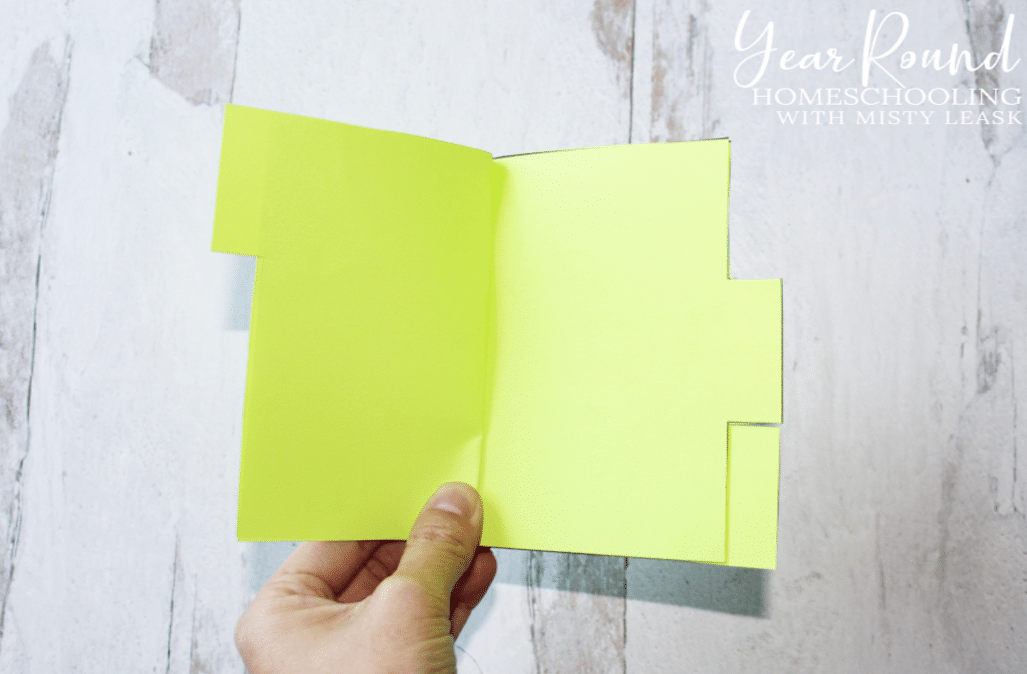
Step 1:
Fold the file folder to make the lapbook base.
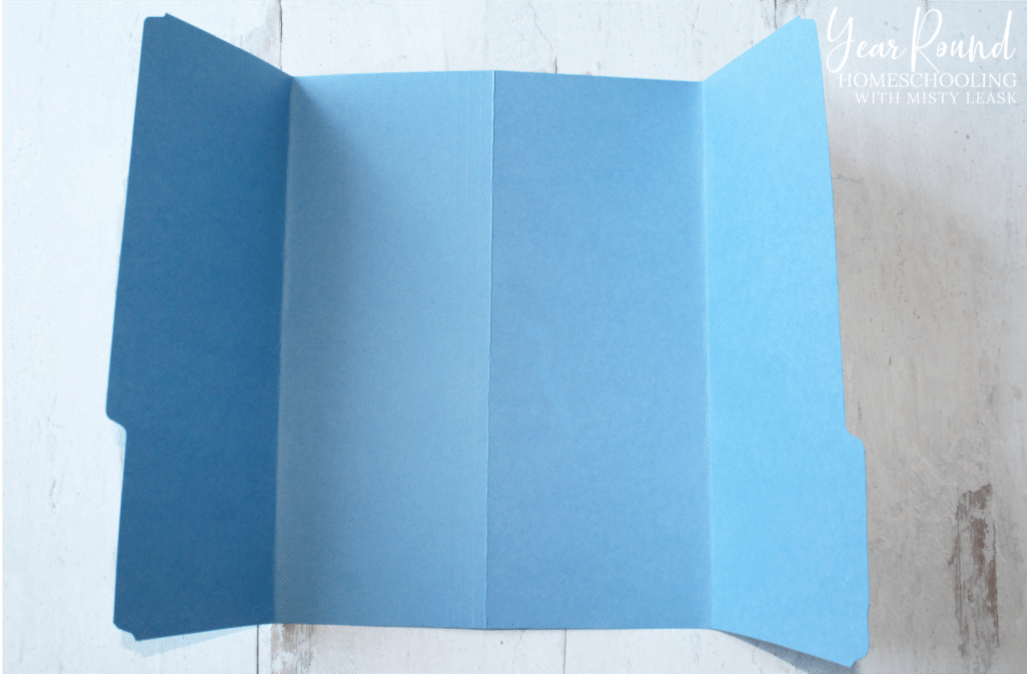
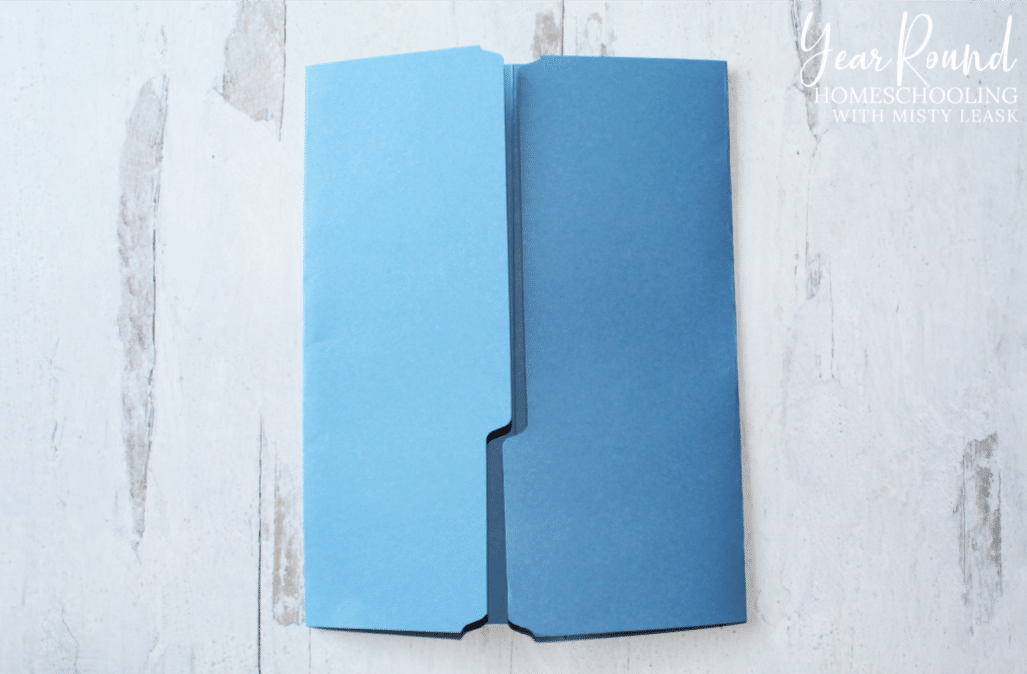
Some lapbookers cut the tabs off the file folders. We tend to leave ours as it helps to keep the flaps closed when we store them. It’s really up to you!
As I mentioned in my previous post about lapbooking supplies, we used a colored file folder to add a little pizzazz.
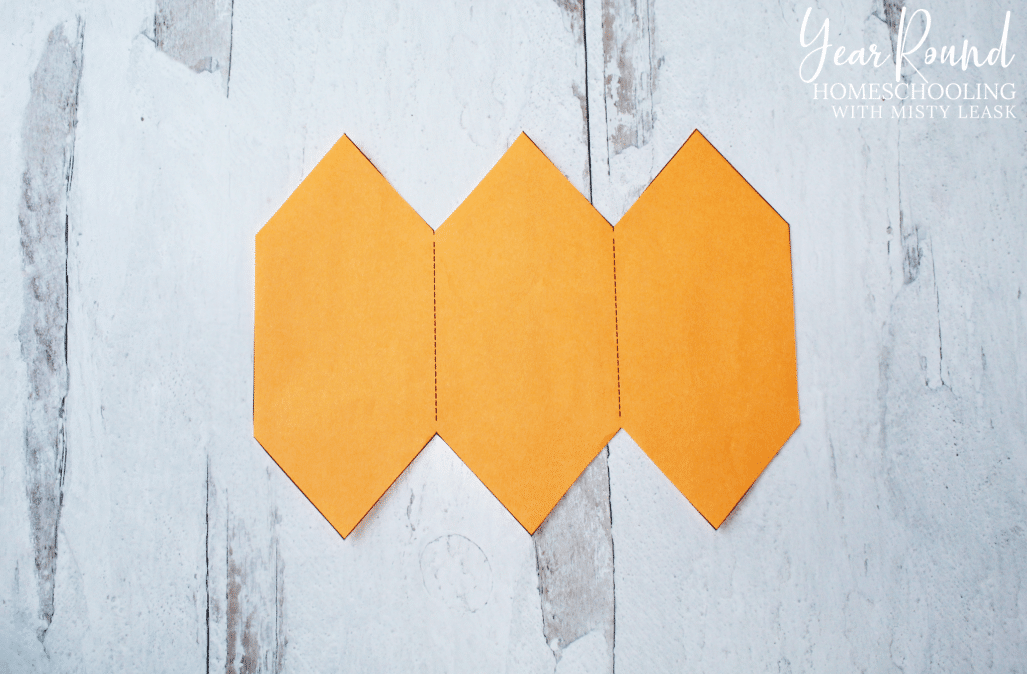
Step 2:
Cut out your mini-books and put them together.
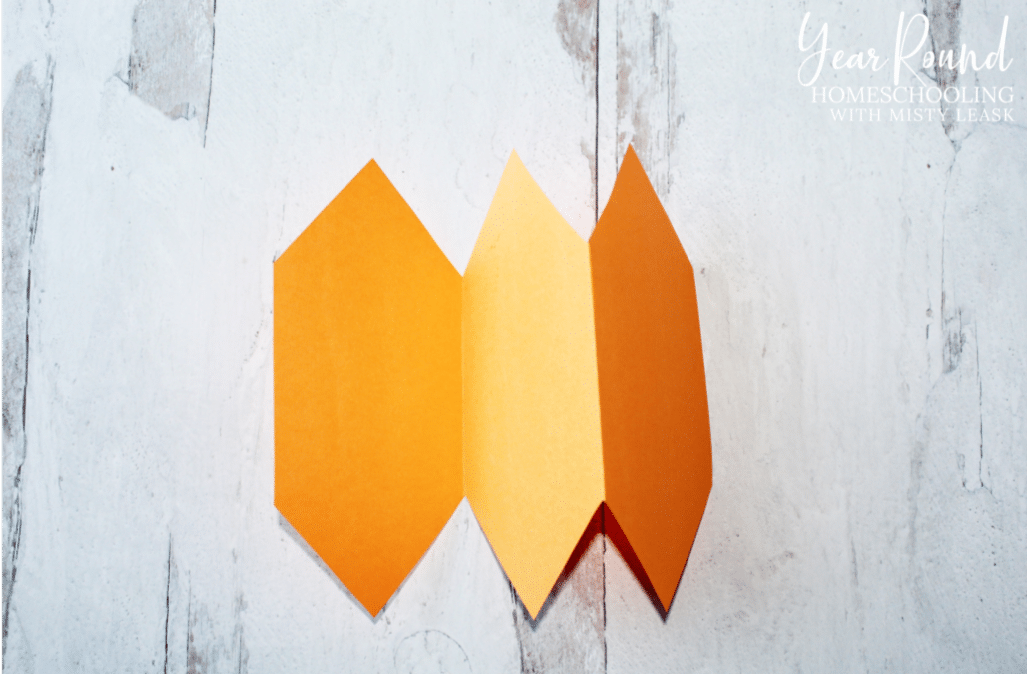
Accordian Fold Mini-Book
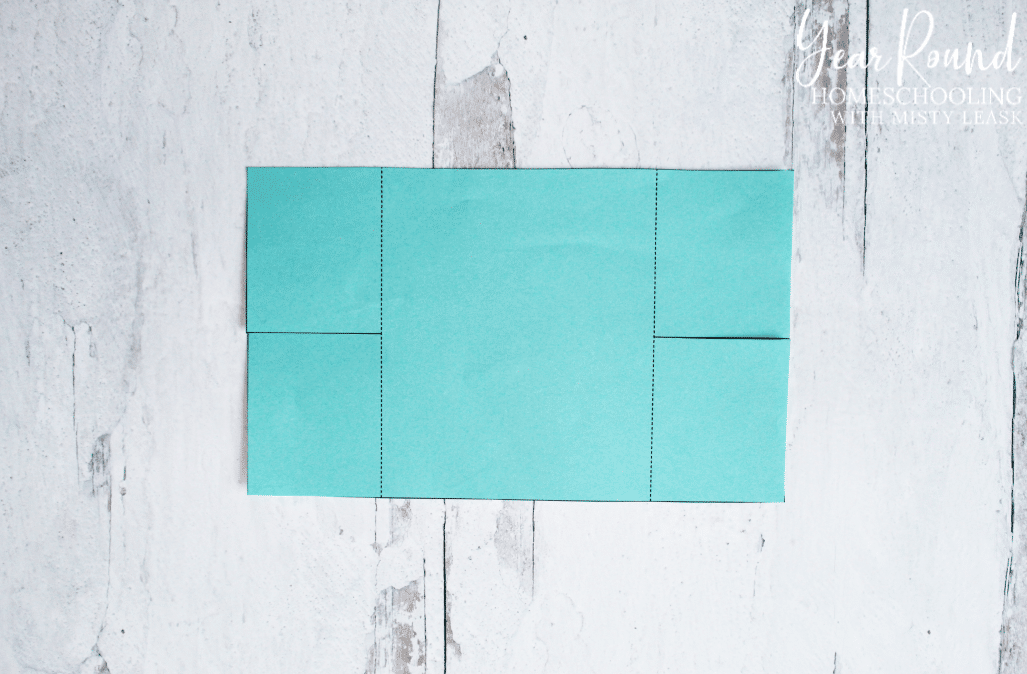
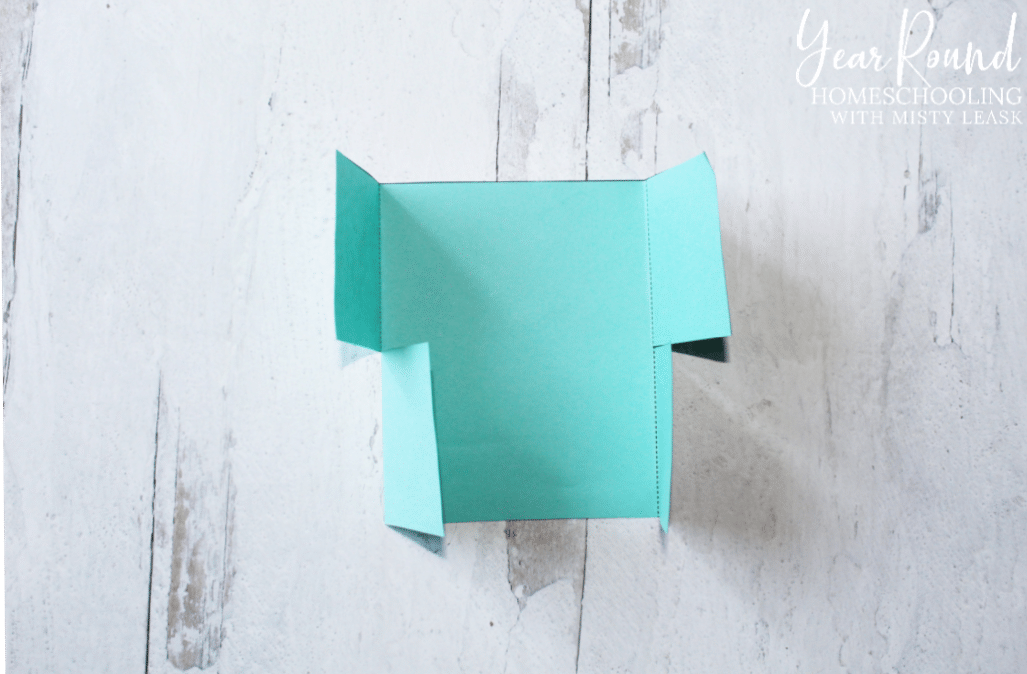
Shutterfold Mini-Book
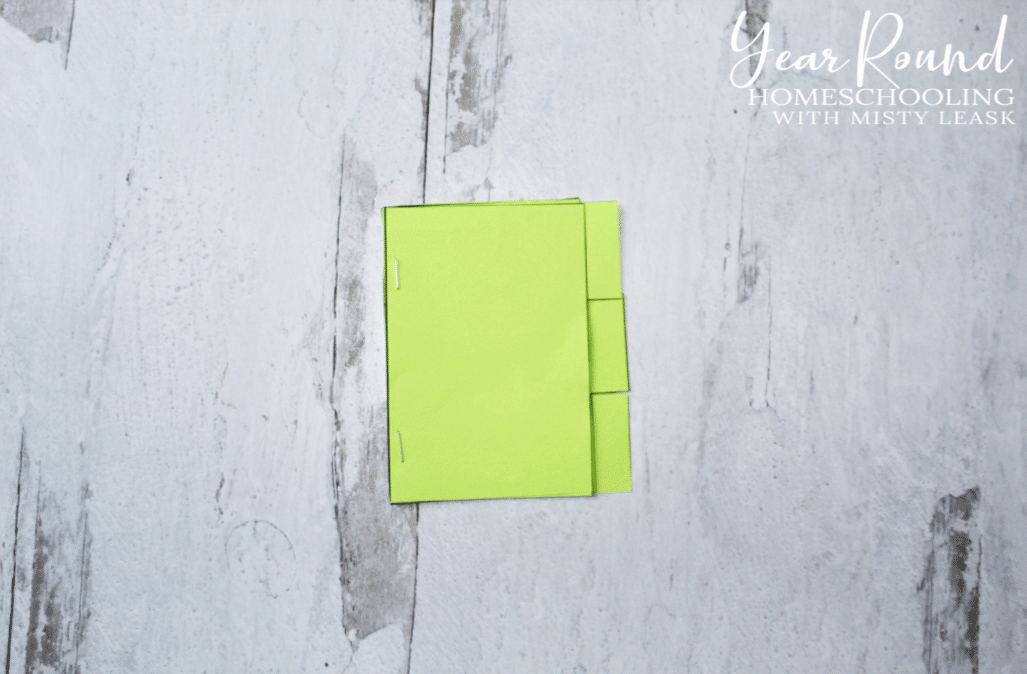
Tabbed Mini-Book
These are a few of the free blank templates from Homeschool Share. There are so many different ways to make lapbooks, which is why it’s a great way to work some creative, delight-directed learning into your days.
Of course, you can purchase lapbooks that are pre-designed complete with study guides from places like A Journey through Learning and In the Hands of a Child.
Step 3:
Glue all the pieces onto the file folder.
Let your kids get creative with their lapbooks by choosing where to place each of their mini-books inside their lapbook and designing their own cover.
Depending on the size of your study, your children may need (or want!) to create more than one lapbook to cover everything they’ve learned.
Those are the basic steps for creating your lapbook. Of course, you can be as detailed or as simplistic as you like and as is appropriate for the age of your children.
Have you ever made a lapbook? Do you have any questions about lapbooking? Let us know in the comments!
Check out my Pinterest board for more lapbooking ideas!
Follow Sara @ Embracing Destiny’s board Lapbooking on Pinterest.
