When I was growing up sand art projects were extremely popular. I remember using colored sand and creating unique patterns by filling plastic containers. My mother used to display all of the colored sand art projects that my brothers and I made in various places throughout the house as part of her decor. We were so proud of our creations and when my mom chose to put them out on display it made us feel so special.

While this was an activity that we enjoyed doing, it wasn’t a frugal art project. So, we didn’t do it very often. That is probably why we loved our colored sand art projects being on display so much.
When my children were younger we were introduced to a more frugal way to create colored “sand” art projects. I had a great time showing my children what I used to do with colored sand and watch them create their own colored “sand” masterpieces. It has been several years since we created any colored “sand” art projects, but I wanted to share this frugal art project with you so that you and your children could create some colored “sand” masterpieces of your own!
DIY Colored “Sand” for Art Projects
There are very few supplies that you need to create your own colored “sand” for art projects. In fact, all of the supplies are probably already in your homeschool room and kitchen.
- Cookie Sheet
- Table Salt
- Bowls
- Plate (optional)
- Chalk
Once you have all of the supplies on hand and ready to go, there is just a few simple steps to creating your own colored “sand” for art projects.

Step One
Based on the colors of chalk you have on hand, select what colors of colored “sand” you want to make.
Step Two
Place a small amount of salt in a separate bowl for each color of colored “sand” that you’re going to create.
Step Three
Pour the salt from one bowl onto your cookie sheet and pick a piece of chalk that you want to start with.
Step Four
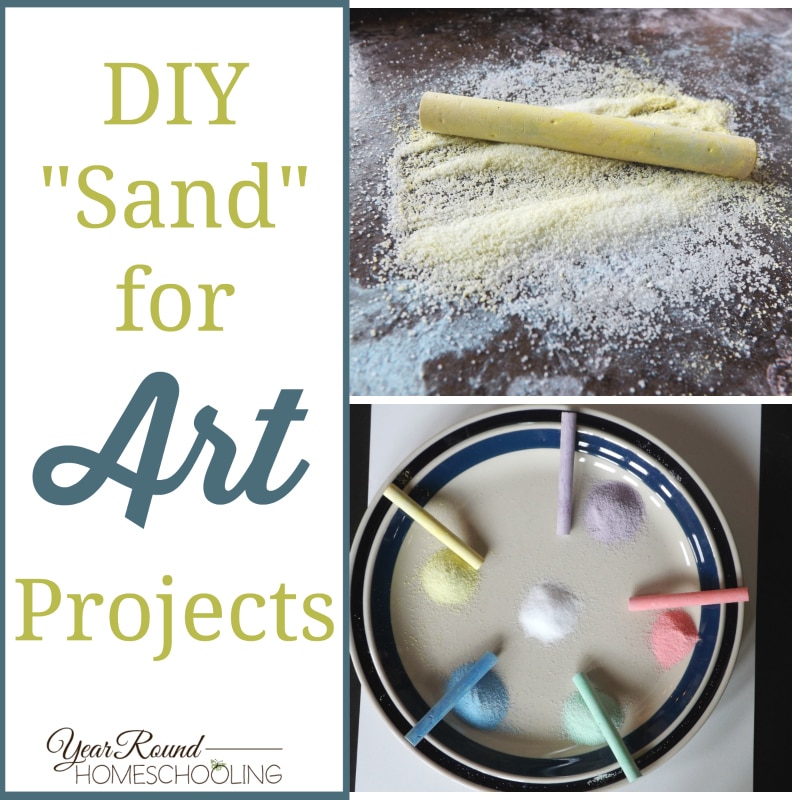
Rub the chalk back and forth over the salt you poured onto the cookie sheet until all of the salt is colored.
Step Five
Once the salt has become the color you desire, pour the colored “sand” back into the bowl or onto the plate.
Step six
Repeat steps 3-6 until you have created all of the colored “sand” that you need for your art project.
I started using “colored” sand with my children when they were in preschool, but when I was preparing to write this post my daughter started talking about all of the art projects that she wanted to create now as a middle schooler. So, whatever age your children are I’m sure that you can find (or create!) an activity or art project in which they can use their colored “sand”!
After you’re finished creating your own colored “sand”, you’re ready to complete your own art projects! Whether you choose to purchase plastic art bottles, ABC learning fun or create your own colored “sand” art projects, I hope that you and your kids have fun creating your own masterpieces!
What did you and your kids enjoy creating with your colored “sand”?

