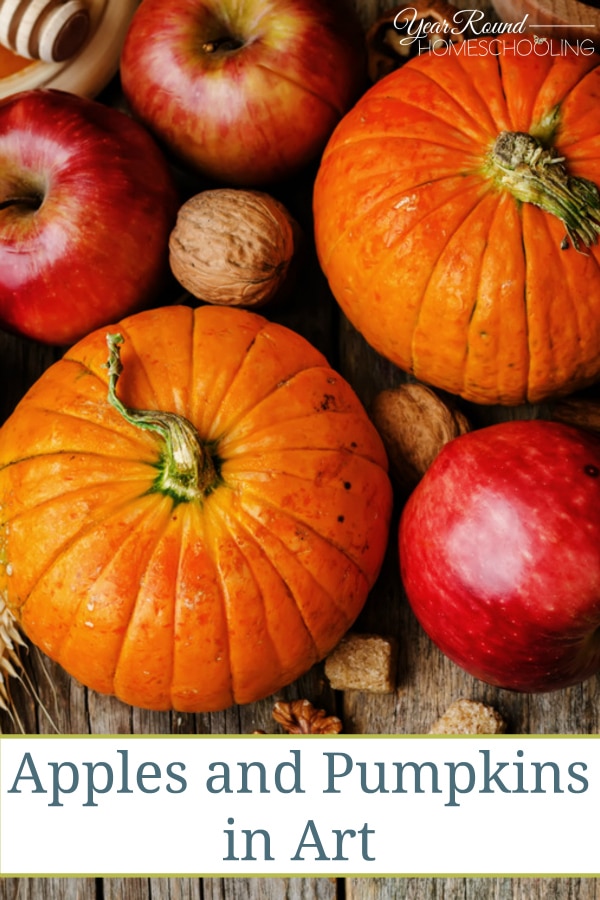
Last week we had the pleasure of going on a tour of the local apple farm. We got to learn about Johnny Appleseed and the process of an apple tree’s growth from seed to full bloomer. It was an amazing hayride; a chance to enjoy the fall leaves and get some apples and mini pumpkins too! Afterwards I thought it could be fun to use apples and pumpkins in art!
First, apples…(this first art project is most fun for littler ones I think)
Painting with Apples:
1. Cut the apples in half. (or create various shapes as my older son did)
2. Pour the paint onto paper plates. (You can also use an old cereal box as the artist’s palatte)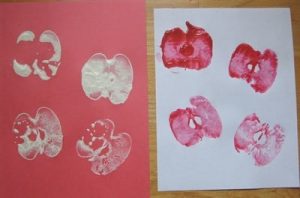
3. Dip the apple piece into the paint and then press down onto the paper.
4. Carefully lift the apple up so the paint doesn’t smear all over the paper.
That’s it! Super simple, but fun art project with apples!
How about a chalk drawing of an apple or a pumpkin?
My oldest son is very creative; some days I just love to watch what he comes up with but for this week, its apples and pumpkins to draw.
He uses some charcoal, some chalk, some paint, sometimes just pencil and marker. He always comes up with some great stuff!
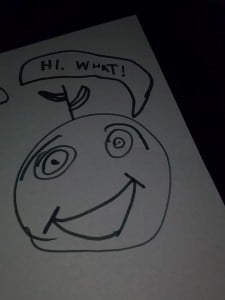
So to start off, he began with a heart; a nice big one. A little round at the bottom.
He then took a reddish orange chalk and shaded it in; just a bit. He used little lines of green throughout too.
Don’t forget to add a nice thick stem by drawing a skinny rectangle up at the top. My son chose to add two leaves on the sides of the stem too. (He made these out of ovals with a bit of a point on the outside end of each)
Choose your colors to shade it in; my son chose a brown stem, and did a combination of yellow and green on the leaves with little strokes on the leaves. We couldn’t quite get a photo of the finished product due to an unfortunate accident with my phone.
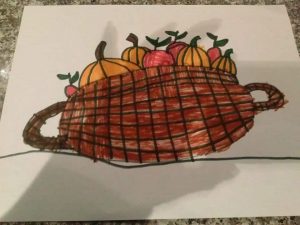
You can follow these same steps for a pumpkin but instead of a heart consider more of an oval with a flatter bottom. 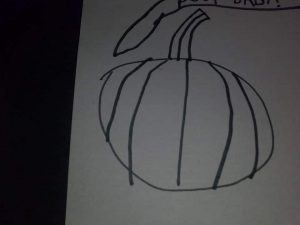
To add texture you draw some curving lines from the top to bottom on your pumpkin. These lines give the pumpkin that 3D look!
Again, be sure to add a stem to the top, and then if you want, some long curving lines out and about around the pumpkin and maybe a couple leaves here and there.
We do so love this time of year and will be sure to share lots more of our fun fall projects! In the meantime, do feel free to share your favorite apple and pumpkin art.