When we first started lapbooking, I looked for a “quick start” guide for putting them together. I wanted a supply list so that we wouldn’t be slowed down by missing something we really needed once we started.
It would seem obvious that the supplies are pretty basic — glue, paper, scissors, file folders, and markers or colored pencils. While that is true, not all supplies are created equal and some really do work better than others for lapbooking. I’d like to share what we’ve learned through trial and error through the years.
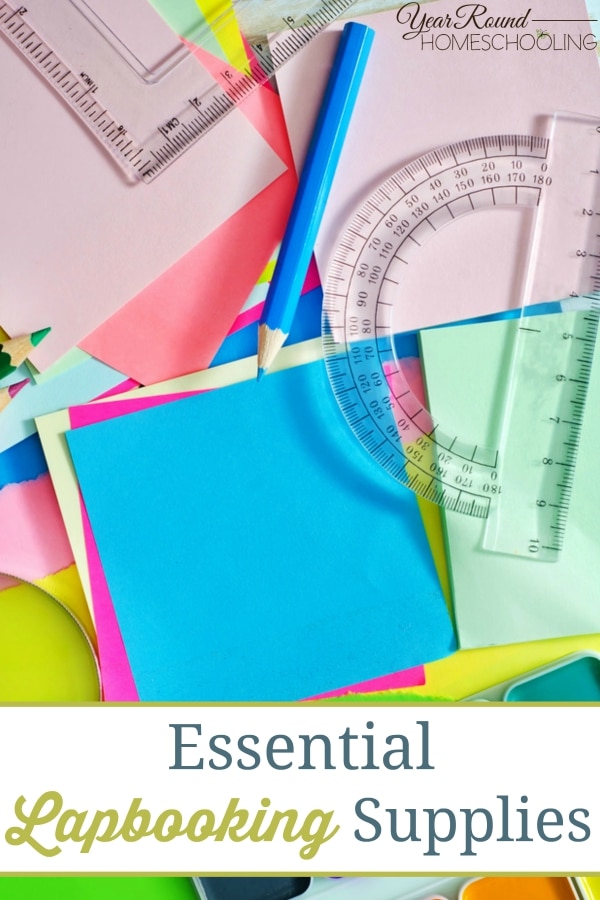
5 Essential Lapbooking Supplies
1. Glue/Adhesive
We started with good old fashioned Elmer’s School Glue. It didn’t take long to realize that although it worked for gluing the mini-books and other components to the file folders, it didn’t make for an attractive end product. It caused wrinkles and just didn’t have a polished look to it for the kind of keepsake learning tools we were creating. Glue sticks just weren’t strong enough to hold the multi-layered pieces together. After some further experimenting, we found that glue dots, double-sided tape, and spray adhesive worked best for us.
Jennifer here at Year Round Homeschooling offers a hint: use double-sided adhesive rollers. I haven’t tried those yet, but we will in the future!
2. File folders
While any old plain manila file folders will work, we like to spice it up a little. Did you know that you can get file folders in classic primary colors, bold and bright colors, pastel, or even floral or other designs? (My daughters like pastel the best.) I had a mindset of the boring manila when we first started because that’s all I had ever used when I worked in an office environment. My other hint regarding file folders? Get the legal sized instead of the letter when you’re planning on making a bigger lapbooking project. You can fit more mini-books and other components without having to attach extra flaps on the folder.
3. Colored paper or cardstock
You can print all the lapbook components on standard white computer paper, and in some cases that’s the best thing to do for readability. However, some of the mini-books or other components can be enhanced with colored cardstock or regular weight colored paper. The cardstock offers more durability, but isn’t always the most practical for every single lapbook. We like to use it to highlight certain parts of the lapbook and/or to use as covers on our mini-books.
4. Scissors
In the early years, safety scissors are a must if you’re going to let your kids do the cutting. Some homeschool parents (including me!) prefer to pre-cut the parts for kids so that assembling them is a smoother process for little learners. Once you begin to make lapbooks on a regular basis and your kids are old enough to do their own cutting, definitely invest in a good pair of scissors that can be sharpened. Cutting all that paper can dull them over time. A nice rotary cutter can come in handy as well.
5. Colored pencils
In our opinion, a nice set of colored pencils can make all the difference in the appearance of the lapbooks. To do any drawing or coloring in of graphics, colored pencils give it the polished look we like best. Markers will do, but can smudge or smear and ruin the finished product.
We’ve learned that although lapbooking itself offers plenty of versatility and we’re able to cover just about any topic we choose, the supplies we use tend to stay the same.
What is on your lapbooking supply list?
